This is not my typical blog post here, but since this is my space on the web for things about my family, this loosely has to do with that...
While everyone else is saying "only 5 shopping days left until Christmas," you're more likely to hear me say, "only 5 CRAFTING days left until Christmas." I absolutely love giving friends and family homemade gifts-I enjoy praying over them and thinking about their favorite things and how I can incorporate them into something that will make them feel loved and special. Also, since DH is a minister and I'm a SAHM, making gifts, rather than buying them, is much more doable for us financially. One of my favorite things to make for children are pillowcases, and GP is just now at the age where I feel comfortable letting him sleep with a pillow, so this Christmas, one of the things I'm making for him is a Thomas the Train pillowcase. There's nothing very difficult about making a pillowcase...although I've discovered you can make ANYthing more difficult than it has to be. There are SO many tutorials for making pillowcases, but I've yet to find one that I haven't felt the need to adapt. So, rather than continually searching for a tutorial I just love and trying to remember how I want to execute my own pillowcase projects, I figured it was time to write down the way I like to make what I call the "easy peasy pillowcase."
Easy Peasy Pillowcase
MATERIALS:
one yard fabric (I like flannel the best, but I've used cotton many times, too.)
Thread
Scissors
Sewing machine
Iron
INSTRUCTIONS:
iron your fabric (this will make it so much easier to fold and sew straight without having to pin anything.)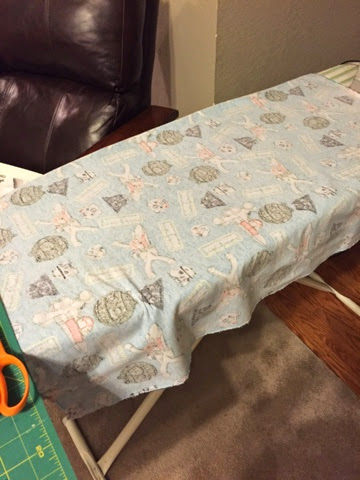
You want the main piece to be about 27.5" in length (and 20" in height when folded, so 40" total in height.) For my flannel, I needed to fold up about 7" to get it to that length--DON'T CUT, but just fold the WRONG SIDES together and press with your iron (seriously, don't skip this step!)
Now zig zag stitch that folded side: 

And cut the fabric as close to your stitch as possible to avoid fraying when washing.
This is what the other side will look like at this point (see the zig zag stitch?):


Now fold your length in half, RIGHT SIDES together and iron (the zig zag piece you just sewed will show the right side):
You can now zig zag stitch all across the top and the side (the other side-not the side you folded over.)
I like to do a regular stitch on the inside edge and a zig zag on the outside edge: 
Now flip it right sides out and iron and there you have it! Easy peasy, right?!;-)
No comments:
Post a Comment